Concrete driveway design tips can save you thousands of dollars and years of frustration if you apply them before pouring a single yard of material. A well-planned layout boosts curb appeal, handles Tucson’s intense heat cycles, and adds measurable resale value. Below are five practical pointers drawn from real project experience in the desert Southwest.
- Research Colors, Textures, and Patterns First
- Match the Layout to Your Outdoor Space
- Choose a Surface That Handles Wear and Weather
- Plan for Traffic Volume and Vehicle Weight
- Stay Within Budget Without Sacrificing Quality
- Putting These Concrete Driveway Design Tips to Work
- Frequently Asked Questions About Concrete Driveway Design
Research Colors, Textures, and Patterns First
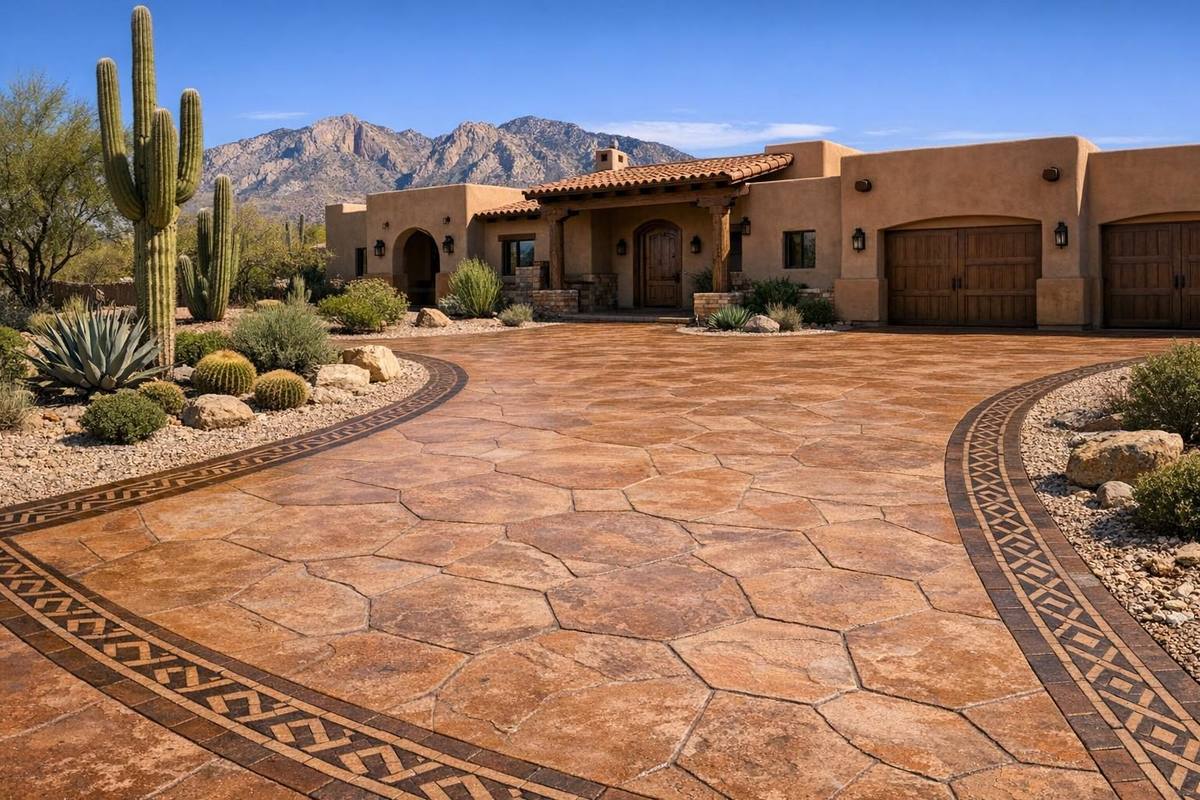
Standard gray is the most common pick, but Tucson homeowners have far more options. Integral color mixes pigment directly into the pour so the hue runs through the full slab thickness instead of sitting on top. Staining, on the other hand, penetrates cured surfaces and works well for refreshing older pours.
Exposed aggregate finishes reveal small stones within the mix, creating a natural, textured look that hides tire marks. Stamping and staining techniques can replicate brick, slate, or flagstone at a fraction of the cost. Stenciled borders around the edges add a custom feel without the full expense of a stamped slab.
One mistake I see repeatedly is choosing a dark color for a south-facing slab. Dark tones absorb more heat, which accelerates surface scaling in triple-digit summers. Lighter earth tones or a reflective sealer coat keep surface temperatures lower and reduce long-term cracking risk.
Match the Layout to Your Outdoor Space
A good layout starts at the street and ends at the garage door. Think about sight lines from the front entry, because the slab is one of the first things visitors notice. Curved edges soften a boxy facade, while clean straight lines suit modern ranch-style homes.
Symmetry matters. If your walkway runs along the left side, balance the visual weight with a landscape border or low retaining wall on the right. Adding a stamped or colored band along the perimeter ties the slab to existing hardscape like patios or pool decking. Check out additional decorative ideas to see how accent borders can transform a plain pour.
Proper grading is the detail most people overlook. The slab must slope at least 1/8 inch per foot away from the foundation to direct rainwater toward the street or a drainage swale. Poor grading leads to pooling, staining, and eventual soil erosion under the edges.
Choose a Surface That Handles Wear and Weather
Tucson’s UV exposure and monsoon storms punish weak surfaces. Stamped finishes hold up well when sealed every 2 to 3 years, but broomed or brushed textures offer the best traction during summer dust storms and sudden downpours. A high-quality acrylic or polyurethane sealer blocks moisture penetration and resists fading from sun exposure.
Fiber-reinforced mixes add tensile strength without extra thickness. For standard residential use, a 4-inch slab over 4 inches of compacted base meets code. Heavier loads, like an RV or boat trailer, call for 5 to 6 inches of appropriate thickness with steel rebar or wire mesh.
Control joints cut at every 8 to 10 feet prevent random cracking by giving the slab planned weak points. Skipping this step is the fastest path to unsightly cracks within the first two years. Learn more about maintaining a concrete driveway so your surface stays sound over time.
Plan for Traffic Volume and Vehicle Weight
How many vehicles park on the slab daily? Two sedans put far less stress on the surface than a loaded pickup plus a trailer. Identify the heaviest vehicle that will use the pad regularly, then size the thickness and reinforcement to match.
High-traffic households benefit from a thicker pour and closer joint spacing. If you expect frequent turning, like a circular layout or a turnaround area, use a broom finish in those zones for extra grip. Turning tires on a smooth sealed surface can leave scuff marks that are tough to remove.
Compared to asphalt, which softens in extreme heat and needs resurfacing every 5 to 7 years, a properly built slab can last 25 to 30 years with minimal upkeep. The cost comparison between asphalt and concrete often favors the latter when you factor in long-term maintenance.
Stay Within Budget Without Sacrificing Quality
Stamped and colored pours cost roughly 30% to 50% more than a basic broom-finish slab. If your budget is tight, pour a standard gray surface and seal it with a tinted acrylic. You get a cleaner look for a fraction of the price, and you can always stamp or overlay later.
Another cost-saving strategy: limit decorative elements to high-visibility areas like the apron near the street or the section closest to the front door. The rest of the slab can stay plain without anyone noticing the difference from the curb.
Always get at least three written bids. Each bid should break out material, labor, base preparation, and finishing as separate line items. That transparency helps you compare apples to apples. A solid pour can also increase your home value, so treat the expense as an investment rather than a sunk cost.
Putting These Concrete Driveway Design Tips to Work
Start by measuring your slab area and listing every vehicle that will use it. Get bids from three local contractors who specialize in residential flatwork. Ask each one about integral color options, joint spacing, and sealer recommendations for the Tucson climate. If you apply these concrete driveway design tips before signing a contract, you’ll avoid the most common regrets homeowners face after the pour cures.
Frequently Asked Questions About Concrete Driveway Design
What is the best surface finish for a Tucson driveway?
A broom or brushed finish provides the best combination of traction and durability in Tucson’s heat. Pair it with a UV-resistant acrylic sealer applied every 2 to 3 years to prevent fading and moisture damage.
How thick should a residential slab be?
Most residential slabs perform well at 4 inches over a 4-inch compacted gravel base. If you park heavy vehicles like RVs or trailers, increase the thickness to 5 or 6 inches and add rebar reinforcement.
Can I add decorative elements to an existing pour?
Yes. Overlays, acid stains, and scored patterns can transform a plain slab without tearing it out. The existing surface needs to be structurally sound and free of major cracks before applying any overlay system.
How do control joints prevent cracking?
Control joints are shallow grooves cut into fresh or early-cured slabs. They create planned weak points so shrinkage stress releases along the joint line instead of forming random cracks across the surface.
Does a stamped slab cost more to maintain?
Stamped surfaces require resealing every 2 to 3 years, which adds roughly $0.50 to $1.00 per square foot each cycle. A plain broom finish needs the same sealing schedule, so the ongoing cost difference is minimal once the initial pour is paid for.